
About Me

- Caroline
- What can I say ... I LOVE CRAFTING. Over the years I have done a wide selection of crafts, including Cross Stich, Tapestry, Long Stitch, Card Making, Beadcraft, Patchwork, Quilting, Pottery Painting, Slipcasting, Calligraphy ... plus others that I can't think of right now. I have however, only recently started to sell the items that I make - watch this space!
Tuesday 14 June 2011
Thursday 7 April 2011
Busy Busy Busy!!!
I don't have much to blog about this week. I've spent 2 full days Sunday & Monday sat at my work desk cutting up material. Now I need to sew it all back together again!

Amongst the pile are 40 tote bags awaiting embroidery before I make them up. Several thread catchers in various materials, sewers sets which include thread catcher, pin cushion, needle book etc.
Some of these will go onto my Facebook page soon with prices (really should set up an online store).
The are some nice fabrics amongst them, but I'm awaiting more fabric from USA that I purchased from a wonderful helpful lady on eBay. I find that the choice in the UK is rather limited, and is expensive.
A few things I've received in the post today .....


Amongst the pile are 40 tote bags awaiting embroidery before I make them up. Several thread catchers in various materials, sewers sets which include thread catcher, pin cushion, needle book etc.
The are some nice fabrics amongst them, but I'm awaiting more fabric from USA that I purchased from a wonderful helpful lady on eBay. I find that the choice in the UK is rather limited, and is expensive.
A few things I've received in the post today .....


The selection above is from a blog giveaway that I won ... more about that here :-)

I won!
I won something from a blog giveaway by Jenna last week. Wooohooooo
It arrived in the post today, aren't I a lucky girl.
I love reading Jenna's blog as she always has helpful articles posted on there and her step by step photography is inspiring. Do go and visit to see for yourself.
Well unfortunately, my photography skills aren't anywhere near as good, this is the photo I took. The flowery material at the back is a beautiful Cath Kidson design apron. It is beautiful, although I've already had it stolen as my daughter took a shine to it! Unfortunately, she refused to allow me to photograph her wearing it though :-(
Please take a look at the original giveaway to see Jenna's wonderful photographs of the items ... she does them far more justice than I ever could.
It arrived in the post today, aren't I a lucky girl.
I love reading Jenna's blog as she always has helpful articles posted on there and her step by step photography is inspiring. Do go and visit to see for yourself.
Please take a look at the original giveaway to see Jenna's wonderful photographs of the items ... she does them far more justice than I ever could.
Wednesday 30 March 2011
Gifts
It's Mother's Day here in the UK on Sunday. Hubby asked me if I would make a mug rug for his Mum and Sister (who has a birthday on Friday - yes April fool baby!).
Here's what I came up with, unfortunately, it's quite a dull day here today and I had to get there into the post so quickly snapped a pic. ...


Here's what I came up with, unfortunately, it's quite a dull day here today and I had to get there into the post so quickly snapped a pic. ...


Monday 28 March 2011
Stripping Scraps!


At some point in the past, I had started sewing some of these scraps together. I'm not quite sure what I had in mind at the time, but I decided that I would continue sewing them together. When I finished, I had an extremely long strip of scraps. I had a quick measure up and counted a total of just over a whopping 13 yards of fabric scraps just 1 1/2 inches wide. They took some time to press the seams I can tell ya.

Then came the maths. Now my maths ability isn't too bad, until I get past counting with my socks off then I'm lost LOL. My working out was as follows :-
I had approx 13 yards @ 36 inches per yard = 468 inches
If I then cut these into 20 inch strips, I would have 23 full strips and a little bit left over.
But to avoid the wastage, I decided to put 2 ends together and sew down the entire length, then cut in half and start again with those 2 ends. I had a lovely finished piece when I'd done ...

Close up ..

Now the next decision is, what do I make with it? I did think about a quick and easy tote bag, I would need to border it though as it isn't quite big enough to do both sides. Any other suggestions gratefully received :-)
Saturday 26 March 2011
All packed up
My daughter is off on an adventure holiday with school on Monday morning. She's really excited about going as she's never done anything like this before. I'm expecting a few tears when I drop her off for the bus though, she's a little apprehensive about being away from home for the first time.
Although she's 10, she still goes to bed each night with a little cuddly or her favourite cushion to keep her company. She didn't want to take one with her, so I've made her this pillow case to comfort her whilst she's away.

I also made an embroidered luggage tag to go onto her suitcase. I wanted to post a photograph, but decided not to as it has her school name on there. I also made an embroidered square which I stitched to her sleeping bag (more difficult than it sounds!)
As usual, my photography isn't the best in the world. But my wonderful hubby has bought me a new camera (whoop!), so hopefully my skills will improve now I don't need to use the camera on my mobile phone.
* * Caroline * *
Thursday 24 March 2011
Three for the price of one!
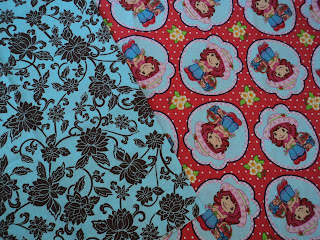
After I'd finished my thread catcher yesterday, I decided to plan out a pieced mugrug. I haven't done any patchwork for well over a year, so thought that this would be a great place to start again, something that I could finish quickly in an hour or so. I wanted it to be about the same size as the one I made with the swirly fabric (approx 10" x 8"). I knew I wanted to use 2 fabrics in particular that I had fat quarters of. They are the same design, and are from the Surfin' Monkeys for Benartex range. The red was difficult to photograph, I think that this was take #9 ~ the colours kept coming up pink on my camera.

A light bulb went on ~ I had a great idea!!!
I grabbed a sheet of paper, and complete with pen and my quilting ruler, I drew a quick grid that was 10x8 .... with me so far??

I love making designs with squares, so I sat and coloured in the squares where I was planning on using the blue fabric and left the squares white where I was to use the red, the intention was that the bit on the right would surround my mug whilst the squares on the left would hold my little treats ... still with me??

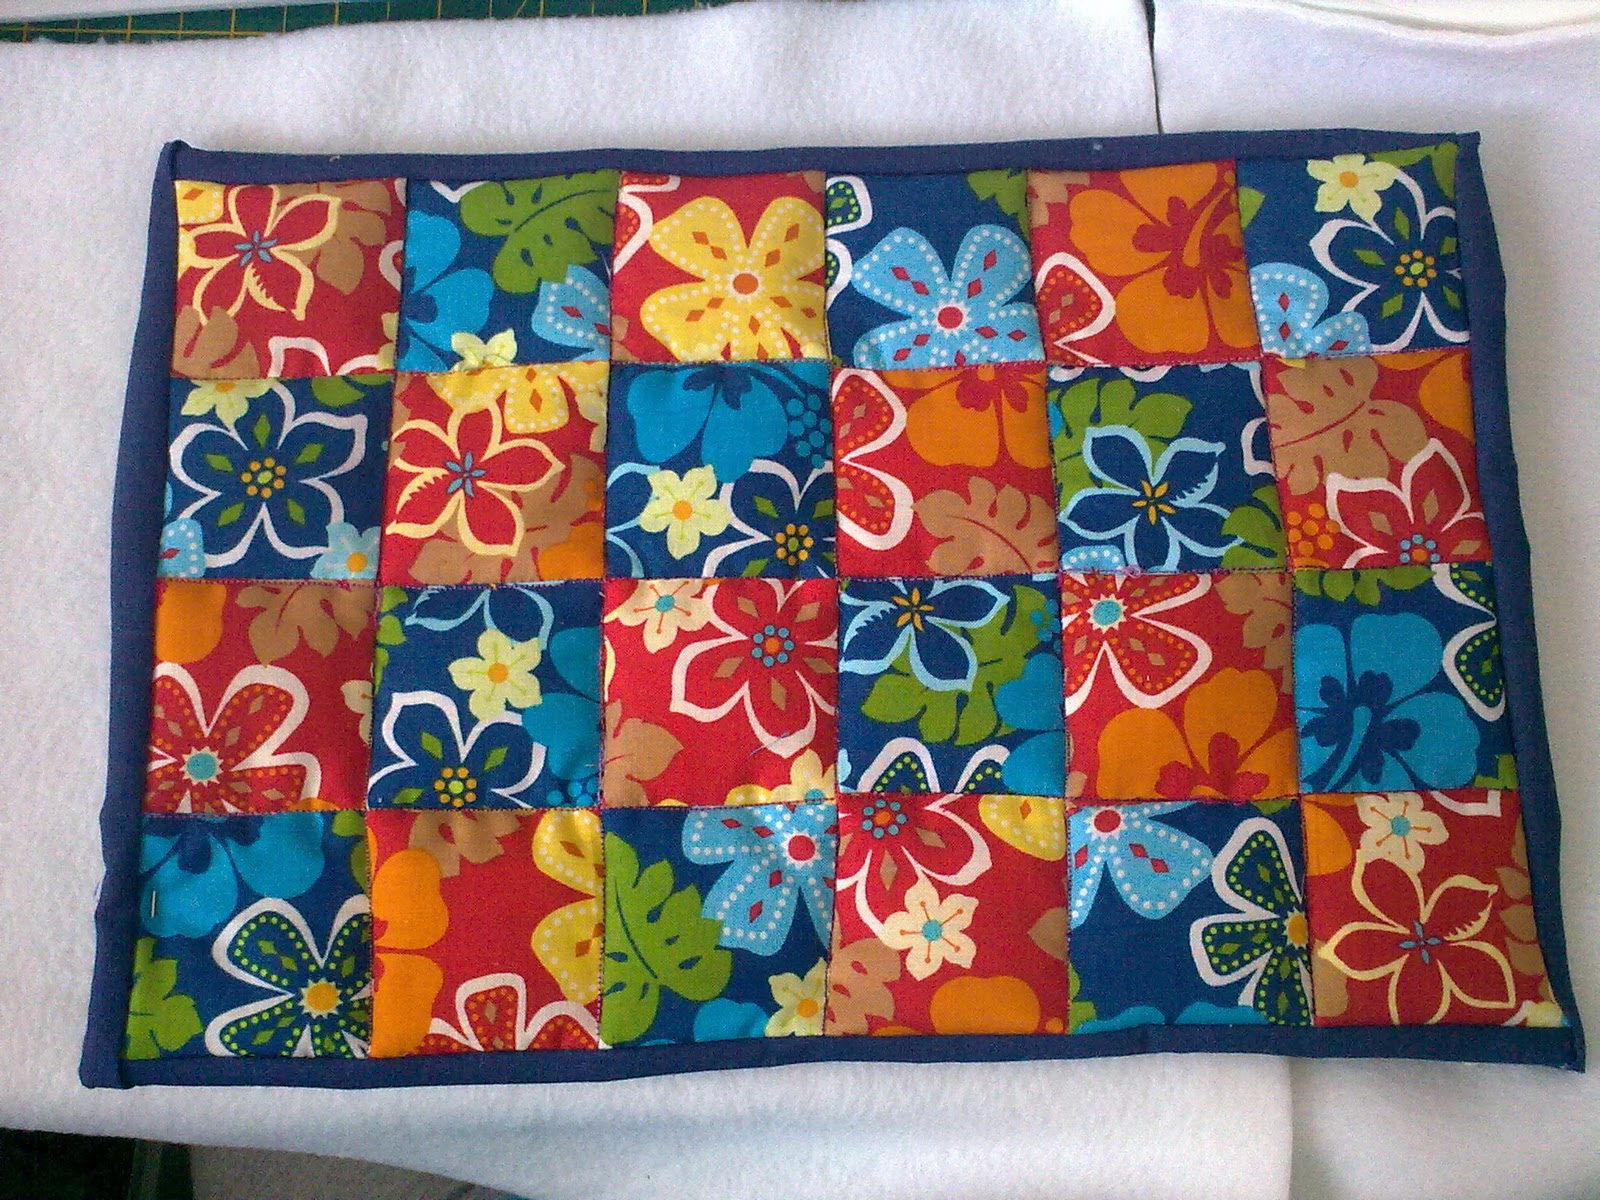
I cut up my beautiful fabric into squares and start chain stitching them all together. As I was getting towards the end, I couldn't understand why it was so big. This thing was HUGE compared to my last one. I just couldn't understand why. I sat and pondered for a few minutes before it finally struck me. Although I'd made my grid 10x8, I'd actually cut 2 1/2 inch squares to make 2 inch finished .... no wonder it was double both the length and width.
As I (mentally) slapped my forehead I decided that rather than reverse stitching all of it, I would just remove parts of it and make two for the price of one! I also had a few squares left over from the strips I cut and added these in, so now I have 3 for the price of one...wooohooo. I had to leave them in strips to go and do the school run, so my first job was to press and then sew them together this morning.

Here they are sandwiched with the wadding. I decided to stitch baste them as I don't like using sprays indoors. As they were only small, I basted diagonally across each one of them both ways.

I had problems with the quilting, and to be honest, felt like throwing my machine out of the window at one point. If you look at the back of these you will see exactly what I mean ... but I'm far too ashamed to photograph that part! I haven't had much experience with free motion quilting. My one and only completed bargello lap quilt got straight lines quilted across it! I did do a couple of days with a wonderful English free motion quilting expert a couple of years ago. But since then, I've got a new machine and haven't done any since. So I guess again, a lot has been forgotten. I free motioned the first 2 and then decided to straight stitch on the larger one. Forgot to use a walking foot (oops), but as it was small, it didn't really move. I think it's becoming obvious now why since getting my machine 18 months ago, it's only really been used for embroidery. I think my 2 king sized quilt tops that I have will either have straight lines or be hand quilted!

I messed up with the binding, as I mentioned in previous posts, it's been quite some time since I did any quilting. I had got it into my head that I needed to strip cut 2 1/2 inches for binding! Now I know the experienced quilters are thinking 'What the heck!!!' ... well I guess I'll just have to check next time I forget LOL. I cut them down to 1 1/2 inches which are obviously the perfect size for these. I have machined onto the front, but have left the back to hand stitch in front of the TV later. I did quickly pin the back to take the photographs, so please ignore the fact that they're not in any way even.
update : since posting, I've realised where I went wrong with the binding. I DID use 2 1/2 inch widths on the items I've made previously BUT I only used a single binding on this rather than a double that I've previously used ... hence the size difference ... glad I figured that one out! LOL
Wednesday 23 March 2011
Wow! The world must be coming to an end!
Two postings in one day! Oh my goodness, I think I'm going to have the need for a lie down soon!
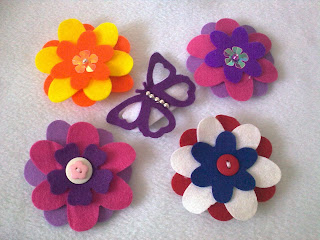
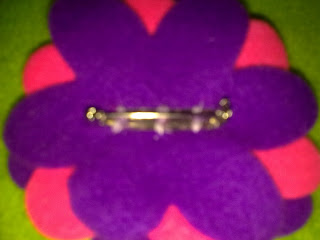
I wanted to share what I've been working on for the next Craft Fair that I'm going to. Having a 10 year old daughter, we're always looking for nice new things to adorn. I've seen many flower hair slides in stores, but find them to be extremely over priced. So, I decided to do something about it. I ordered a large quantity of hair clips - the snap barrette type, from China. They came in super quick time and I got to work.
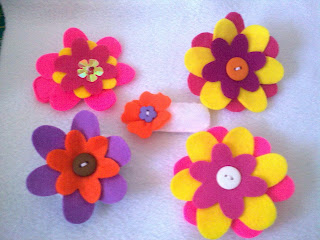
I don't have any software for my embroidery machine as the cost of most is just way out of my price range. I found that I could use a border that was built into my machine to make the casing for the barrettes. It was a bit fiddly to begin with, lots of trial and error with the sizing, but once I'd got it right, I hit the save button and it's now there whenever I need to make more covers.
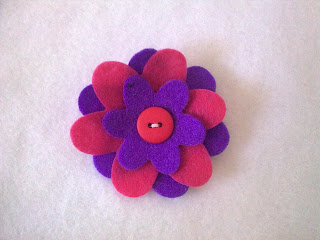
For the flowers, I used my Sizzix die cutter. I have 2 flower dies that I used. The photographs (or rather my camera skills!) really don't do these any justice at all.
I'm hoping that by keeping them in the 'pocket money' price bracket, that they will sell well at Craft Fairs.

I wanted to share what I've been working on for the next Craft Fair that I'm going to. Having a 10 year old daughter, we're always looking for nice new things to adorn. I've seen many flower hair slides in stores, but find them to be extremely over priced. So, I decided to do something about it. I ordered a large quantity of hair clips - the snap barrette type, from China. They came in super quick time and I got to work.

I don't have any software for my embroidery machine as the cost of most is just way out of my price range. I found that I could use a border that was built into my machine to make the casing for the barrettes. It was a bit fiddly to begin with, lots of trial and error with the sizing, but once I'd got it right, I hit the save button and it's now there whenever I need to make more covers.

For the flowers, I used my Sizzix die cutter. I have 2 flower dies that I used. The photographs (or rather my camera skills!) really don't do these any justice at all.

I'm hoping that by keeping them in the 'pocket money' price bracket, that they will sell well at Craft Fairs.

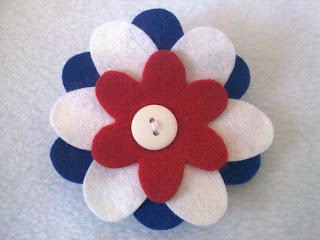
A patriotic colour combination ready in time for the Royal Wedding.

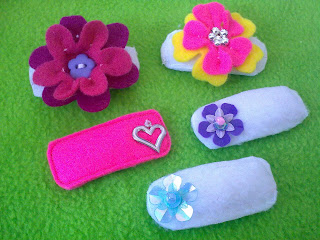
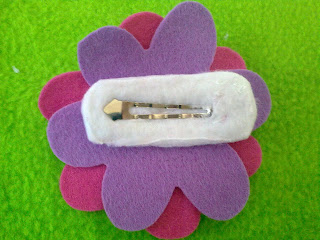
Some of these have the snap click tucked into the cover

Whilst on some of the others, I have added a broach pin. I have pinned one of these to my black wool coat, and it looks FAB!
* * Caroline * *
More ticked off!
No, I'm not annoyed! I've got more ticked off my 'To Do' list... woohooo
I had a good hunt around last night, but still can't find the lead for my camera phone to connect to my laptop. Blogging just isn't the same without photographs, so I decided to go the long way around and bluetooth them to my PDA and then connect that to my laptop .... yayyy! Was a little annoyed that my phone won't bluetooth direct to my iPad though - guess you need an iPhone to do that??
So here are a couple of pics of the items I got done yesterday, and the thread catcher that I made this morning.

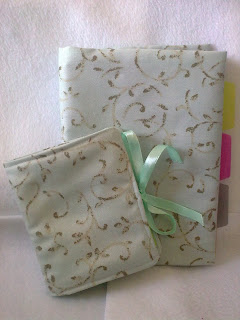
These are obviously my note book covered and needle book. I think they look lovely together like this.
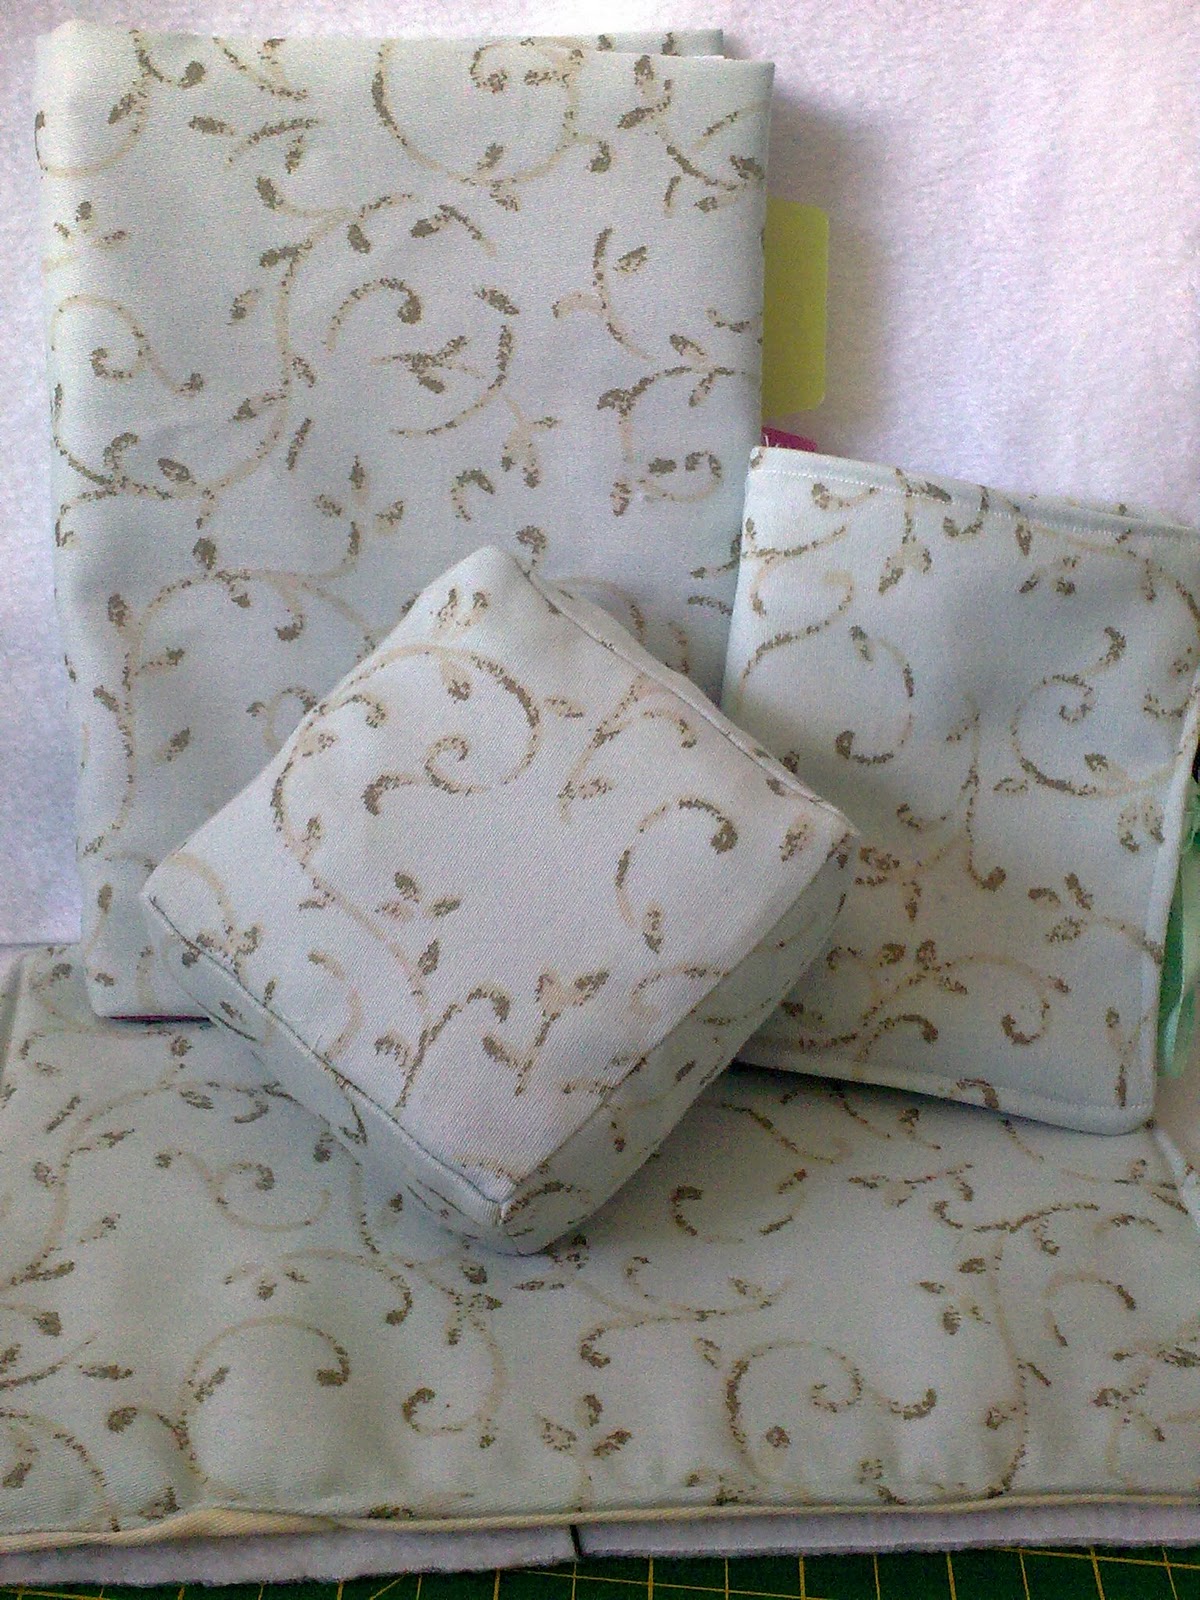
Add a pin cushion and place on top of a rugmug

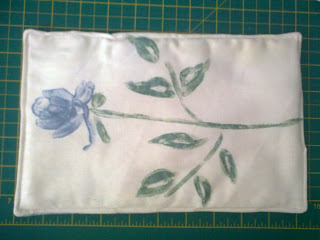
This is the reverse of my mugrug - I used one of the flowers from the panel on the fabric that I cut the swirlies from. Not sure I like the flowers, but it does give an option. I wanted these to be quick and easy to get me back into sewing rather than embroidery, so I decided not to do any quilting on this one.

Complete with matching thread catcher.
I wasn't completely convinced with this material when I started, but I've grown to love it over the past 2 days. I am sure I can come up with a few more projects for my sewing room to make with it.

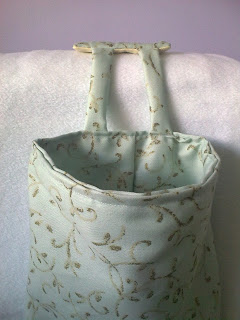
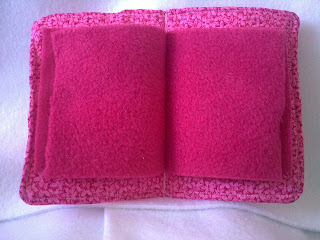
By complete contrast, this is the needle book that my daughter made for herself yesterday. The colour she chose from my scrap box works well with the bright pink fleece she chose for the 'pages'
She wants to add a bit of ribbon to tie it like on mine, I guess that part will be down to her wonderful Mummy! LOL
* * Caroline * *
Tuesday 22 March 2011
Productive Morning
Well I'm really pleased with myself today. I've spent a few hours in my little sewing room this afternoon and got a couple of things ticked off my 'To Do' list. Unfortunately, I can't find the lead for my camera, so I'm unable to share the photographs that I took. I'm going to have a hunt for it a little later and hopefully get some pics posted soon.
So what did I do ???
I decided to make a 'Needle Book' for myself as I'm always hunting around for a needle on the occasions that I do some hand sewing. Gen was with me as she's been off ill from school the past couple of days (back tomorrow), and she decided she wanted to make one for herself. She chose some vivid pink from my scrap stash which I cut up for her. She plugged in her sewing machine and away she went. She got a bit confused turning it the right way around as I'd put a layer of batting inside so she wasn't sure which hole to turn it through. I use a lot of fleece and Gen chose some pink to put in the middle of her 'book'. I love the colours she chose and think it turned out very nicely. The only thing that we didn't do was put some ribbon to fasten it together ... my fault, this was the first one that I'd ever done so didn't think about it.
I've had some material in for a couple of years. I got it VERY cheaply when a local fabric store was closing down. I did intend to make curtains with it at some point, but that would mean redecorating, and that's just another thing on our 'round tuit' list! Anyway, I decided to use this fabric to make a few co-ordinating items specifically for my sewing room. It has a swirly pattern down each side and 2 flower panels in the middle. I decided that I only wanted to use the swirly pattern part of it as the flower was a little large for the projects I was making.
I set to work to make a cover for my note book first of all. Now, although it looks ok, I'm not completely happy with it. I really do wish that I'd added a layer of wadding as it seems a little 'flimsy' on my book. Again, this was a learning curve as I've never made one of these before either. I think I will make a second cover soon complete with wadding and learn from the mistake that I've made. (I always say those who don't make mistakes don't do anything!)
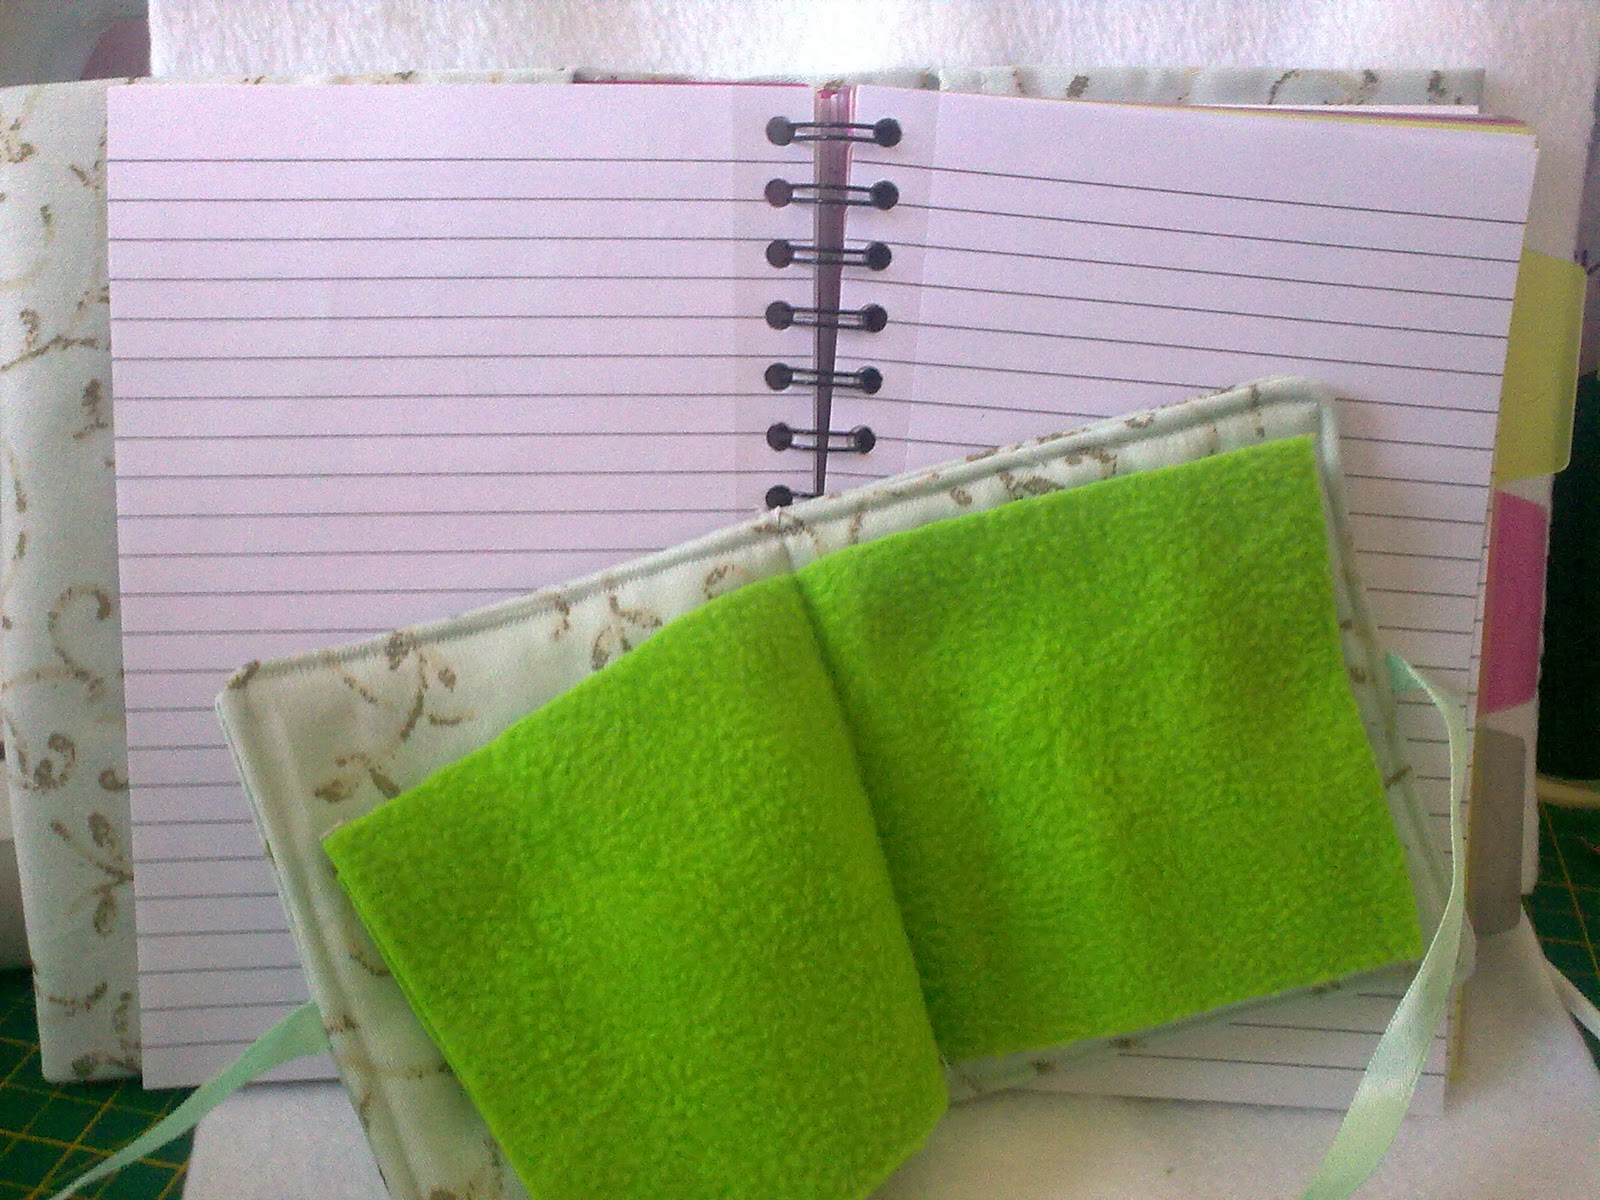
The second item I made is a needle book for myself. I used the same fabric as the note book cover and added some mint ribbon to keep it closed. For the inside I chose some lime green fleece which I thought looked great.
I'm planning to also make the following co-ordinating items over the next few days :-
~Mug rug for my juice glass
~Pin cushion
~ Thread catcher
~ Scissors pouch
~ Cover for my back cushion that I have on my sewing chair
~ Anything else I think of and get time
(anyone notice my 'To Do' list is getting longer!!!)
*** UPDATE ***
Since I posted this afternoon, I have completed my Mug Rug AND have made the pin cushion ... I just need to stuff it and whip stitch shut :-)
So what did I do ???
I decided to make a 'Needle Book' for myself as I'm always hunting around for a needle on the occasions that I do some hand sewing. Gen was with me as she's been off ill from school the past couple of days (back tomorrow), and she decided she wanted to make one for herself. She chose some vivid pink from my scrap stash which I cut up for her. She plugged in her sewing machine and away she went. She got a bit confused turning it the right way around as I'd put a layer of batting inside so she wasn't sure which hole to turn it through. I use a lot of fleece and Gen chose some pink to put in the middle of her 'book'. I love the colours she chose and think it turned out very nicely. The only thing that we didn't do was put some ribbon to fasten it together ... my fault, this was the first one that I'd ever done so didn't think about it.
I've had some material in for a couple of years. I got it VERY cheaply when a local fabric store was closing down. I did intend to make curtains with it at some point, but that would mean redecorating, and that's just another thing on our 'round tuit' list! Anyway, I decided to use this fabric to make a few co-ordinating items specifically for my sewing room. It has a swirly pattern down each side and 2 flower panels in the middle. I decided that I only wanted to use the swirly pattern part of it as the flower was a little large for the projects I was making.
I set to work to make a cover for my note book first of all. Now, although it looks ok, I'm not completely happy with it. I really do wish that I'd added a layer of wadding as it seems a little 'flimsy' on my book. Again, this was a learning curve as I've never made one of these before either. I think I will make a second cover soon complete with wadding and learn from the mistake that I've made. (I always say those who don't make mistakes don't do anything!)
The second item I made is a needle book for myself. I used the same fabric as the note book cover and added some mint ribbon to keep it closed. For the inside I chose some lime green fleece which I thought looked great.
I'm planning to also make the following co-ordinating items over the next few days :-
~
~
~ Thread catcher
~ Scissors pouch
~ Cover for my back cushion that I have on my sewing chair
~ Anything else I think of and get time
(anyone notice my 'To Do' list is getting longer!!!)
*** UPDATE ***
Since I posted this afternoon, I have completed my Mug Rug AND have made the pin cushion ... I just need to stuff it and whip stitch shut :-)
Subscribe to:
Posts (Atom)